Most of the time, one of the first things I do when I open a picture in photoshop is play with curves. This morning my sister-in-law and I did a little photoshoot with her brother Scott.
Here is one of the images I got that's SOOC (straight-out-of-camera)

He's workin' on his pensive look there....
So first step is to open up the picture in photoshop.
Second, open cuves (pc: ctrl-m) or the long way is: Image --> Adjustments --> Curves.
A dialog box will then pop up with a graph in the middle. The graph has a diagonal line running from bottom left to top right.
Click your mouse in the very center of the grid. (128,128)
Then click your mouse halfway between the center of the grid and the bottom left. (64,64)
Then use your down arrow to lower the second click you just did. This will create an "s" curve, increasing your contrast; make your darks, darker, and your lights, lighter.
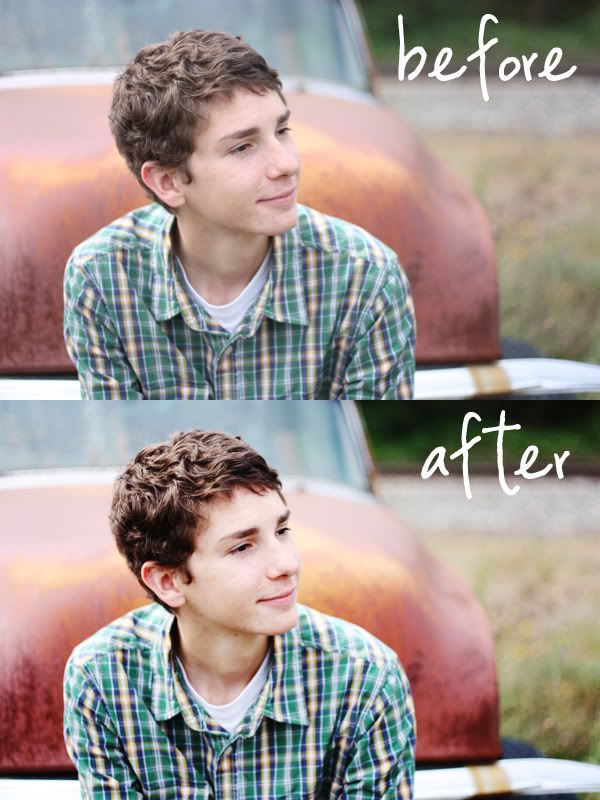
The only thing I did to this shot was increase the contrast.

It's a subtle change. I like how it get's rid of that cloudy feel. This also helps give black & white's more dimension.
Here's the before & after:

Here is one of the images I got that's SOOC (straight-out-of-camera)

He's workin' on his pensive look there....
So first step is to open up the picture in photoshop.
Second, open cuves (pc: ctrl-m) or the long way is: Image --> Adjustments --> Curves.
A dialog box will then pop up with a graph in the middle. The graph has a diagonal line running from bottom left to top right.
Click your mouse in the very center of the grid. (128,128)
Then click your mouse halfway between the center of the grid and the bottom left. (64,64)
Then use your down arrow to lower the second click you just did. This will create an "s" curve, increasing your contrast; make your darks, darker, and your lights, lighter.
The only thing I did to this shot was increase the contrast.

It's a subtle change. I like how it get's rid of that cloudy feel. This also helps give black & white's more dimension.
Here's the before & after:

No comments:
Post a Comment